Can Ember Lily Thrive? Expert Gardening Tips for Growing This Stunning Flower
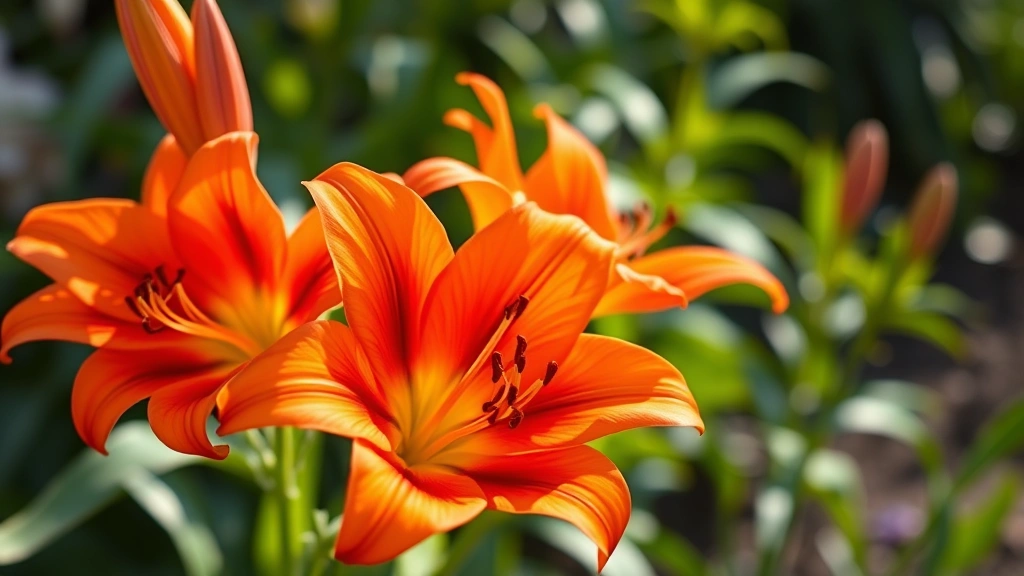
Ember lilies are among the most captivating flowering plants you can cultivate in your garden, offering striking orange-red blooms that seem to glow in the sunlight. These dramatic perennials have earned their place in gardens across temperate zones, yet many gardeners wonder whether they can successfully grow these beauties in their own outdoor spaces. The good news is that with proper knowledge and care, ember lilies can absolutely thrive in your garden, rewarding you with years of magnificent blooms.
Growing ember lilies requires understanding their specific needs, from soil composition to sunlight requirements and seasonal care routines. Whether you’re a seasoned gardener or just beginning to explore perennial cultivation, this comprehensive guide will walk you through everything necessary to ensure your ember lilies flourish. We’ll explore the conditions these plants love, common challenges you might face, and proven strategies to overcome them.
Understanding Ember Lily Basics
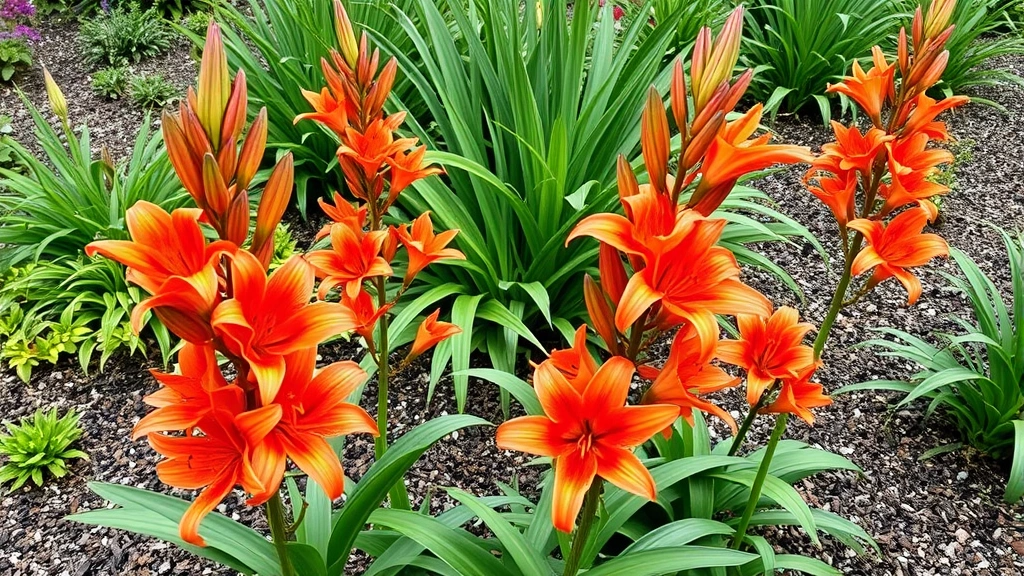
Ember lilies, scientifically classified within the Lilium genus, are perennial flowering plants that produce stunning trumpet-shaped or star-shaped blooms in warm orange and deep red tones. These plants typically reach heights between 2 to 6 feet depending on the variety, making them excellent choices for mid to back-border placements in garden designs. The flowers emit a subtle fragrance and bloom during summer months, typically from June through August, providing extended color during peak garden season.
The botanical structure of ember lilies includes underground bulbs that store energy throughout the year, allowing the plant to return annually with renewed vigor. Understanding this growth pattern is crucial because it means your success depends heavily on proper bulb health and dormancy management. These bulbs are sensitive to moisture levels, temperature fluctuations, and soil quality, which is why many gardeners initially struggle with cultivation.
Unlike annuals that complete their life cycle in one season, ember lilies are true perennials that benefit from year-round attention. When you invest in establishing these plants properly, you’re setting up a long-term relationship with your garden that yields beautiful returns for many years. Many gardeners find that their ember lilies improve and multiply after the first year of establishment.
Ideal Growing Conditions
Ember lilies thrive in locations that receive abundant sunlight, ideally six to eight hours of direct sun daily. This sunlight requirement is non-negotiable if you want robust growth and prolific flowering. Plants grown in insufficient light often become leggy, produce fewer blooms, and may struggle with overall vigor. However, in extremely hot climates, afternoon shade can prevent flower scorching and stress.
Temperature considerations are equally important for ember lily success. These plants prefer moderate climates and perform best in USDA hardiness zones 3 through 9, though specific varieties may have different tolerances. Cold winters actually benefit ember lilies by providing the dormancy period they need to reset their growth cycle. Conversely, excessive heat combined with humidity can promote fungal issues and bulb rot.
Humidity levels should remain moderate—not excessively wet or dry. The air should circulate freely around the plants to minimize fungal disease risk. When planning your cottage garden layout, ensure adequate spacing between plants to allow air movement. This simple consideration prevents many common problems before they start.
Consider your local climate patterns throughout the year. Ember lilies need a distinct dormancy period during winter months when temperatures drop. In warmer regions where winters are mild, you may need to provide artificial chilling by refrigerating bulbs before planting, or select heat-tolerant varieties bred for warmer zones.
Soil Preparation and Amendment
The foundation of successful ember lily cultivation is proper soil preparation. These plants demand well-draining soil above all else—waterlogged conditions are the primary cause of bulb rot and plant failure. If you have heavy clay soil, you must amend it extensively before planting. Work organic matter into the top 12 inches of soil, incorporating compost, aged manure, or peat moss to improve drainage and structure.
Soil pH should ideally range between 6.0 and 7.0 for optimal nutrient uptake. Test your soil before planting to determine its current pH and nutrient levels. Many county extension offices offer affordable soil testing services that provide detailed recommendations for amendment. You can also purchase home soil test kits from garden centers, though professional testing provides more comprehensive analysis.
Beyond drainage and pH, ember lilies benefit from nutrient-rich soil. Work in balanced organic fertilizer or bone meal when preparing beds. This provides slow-release nutrients that feed bulbs throughout their growing season without causing excessive foliage at the expense of flowers. The goal is steady, sustained nutrition rather than rapid growth spurts.
Consider adding perlite or coarse sand to heavy soils to dramatically improve drainage. A ratio of one part perlite to three parts amended soil creates an ideal growing medium. If your garden has persistent moisture issues, raised beds filled with quality potting soil mixed with compost may be your best option for ember lily success.
Planting Ember Lilies Successfully
Timing is crucial when planting ember lily bulbs. Fall planting, typically September through November, allows bulbs to establish roots before winter dormancy and spring growth. Spring planting is possible but less ideal, as bulbs planted in spring have less time to develop robust root systems before summer heat arrives. If you must plant in spring, choose the earliest possible date in your region.
Select large, firm bulbs without soft spots, mold, or damage. Bulb size directly correlates with flower production, so investing in quality bulbs pays dividends. Plant bulbs at a depth of approximately three times their height—a 2-inch bulb should be planted 6 inches deep. This depth protects bulbs from temperature fluctuations and provides support for tall-growing varieties.
Space bulbs 8 to 12 inches apart depending on mature variety size. Overcrowding reduces air circulation and increases disease risk. When planting multiple bulbs, create clusters of odd numbers (three, five, or seven) arranged in triangular patterns for the most natural, aesthetically pleasing appearance. This clustering approach also makes care and maintenance easier than scattered individual plantings.
Water thoroughly immediately after planting to settle soil and eliminate air pockets around bulbs. This initial watering is critical for establishing good soil-to-bulb contact. Mark your planting locations with markers or labels so you don’t accidentally disturb bulbs during winter when foliage has died back.

Watering and Moisture Management
Proper watering is perhaps the most critical factor in growing healthy ember lilies. During the growing season (spring through early summer), plants need consistent moisture but never waterlogged conditions. Aim for approximately one inch of water weekly, either from rainfall or supplemental irrigation. Check soil moisture by inserting your finger two inches into the soil; if it feels dry at that depth, water is needed.
The best watering approach is deep, infrequent watering rather than daily light sprinkling. Deep watering encourages roots to grow downward into the soil profile, creating stronger, more drought-resistant plants. Water early in the morning to allow foliage to dry quickly, which minimizes fungal disease risk. Avoid wetting foliage directly; instead, water at soil level using drip irrigation or soaker hoses.
As plants approach blooming, maintain consistent moisture to support flower development. Once flowers fade and foliage begins yellowing naturally in late summer, gradually reduce watering. This transition signals the plant to enter dormancy and begin bulb energy storage. By fall, watering should be minimal unless you experience a drought.
Winter moisture management depends on your climate. In regions with reliable snow cover or regular winter rainfall, natural precipitation usually provides adequate moisture. In drier climates, occasional winter watering may be necessary if the soil becomes completely dry for extended periods. The key is avoiding the extremes of waterlogged soil and completely desiccated conditions.
Sunlight Requirements
Ember lilies are sun-worshippers that perform best in full sun conditions. A minimum of six hours of direct sunlight is essential, with eight hours being ideal for maximum bloom production. Plants grown in partial shade often produce fewer flowers, develop weaker stems, and may not reach their full height potential.
When selecting planting locations, observe your garden throughout the day to identify areas receiving consistent, direct sun. Note that sun exposure changes seasonally, so what appears to be a sunny spot in summer might be shaded during other seasons due to tree growth or structural shadows. Plan your plantings with mature sun patterns in mind.
In extremely hot climates (zones 8-9), afternoon shade becomes beneficial, protecting delicate petals from heat scorch and reducing plant stress during peak summer temperatures. However, even in these regions, morning sun exposure is essential. A location receiving morning sun and afternoon dappled shade creates an ideal microclimate for heat-sensitive varieties.
Insufficient sunlight compromises plant health in multiple ways: reduced photosynthesis limits energy production, weak stems require staking, and fewer blooms develop. If your garden lacks adequate sun for ember lilies, consider creating a garden tower or raised bed in a sunnier location, or relocate your planting to a more favorable spot.
Fertilizing for Optimal Blooms
Ember lilies respond well to balanced fertilization that supports both foliage and flower development. Begin fertilizing in early spring when shoots emerge from the soil. Use a balanced, slow-release fertilizer with equal nitrogen, phosphorus, and potassium ratios (such as 10-10-10). Apply according to package directions, typically spreading granular fertilizer around the plant base and watering it in thoroughly.
Once flower buds form, switch to a higher phosphorus fertilizer (the middle number in the NPK ratio) to encourage larger, more vibrant blooms. Phosphorus is the flower-promoting nutrient, while potassium strengthens stems and overall plant resilience. Avoid excessive nitrogen, which promotes lush foliage at the expense of flowers.
Apply fertilizer every four to six weeks during the active growing season from spring through early summer. Stop fertilizing by late summer to allow the plant to focus energy on bulb development rather than new growth. Organic fertilizer options like fish emulsion or seaweed extract provide nutrients plus beneficial microorganisms that improve soil health.
Foliar feeding with diluted liquid fertilizer can boost plant vigor during the growing season. Spray fertilizer solution on foliage early in the morning, ensuring complete coverage of leaves. This method delivers nutrients directly to the plant and often produces noticeably faster responses than soil application alone.
Pest and Disease Prevention
Several pests and diseases threaten ember lilies, but most can be prevented through proper cultural practices. Lily beetles, recognizable by their bright red coloring, are common pests that skeletonize foliage and damage flowers. Hand-pick beetles when you see them, wearing gloves as they release a foul-smelling defensive secretion. Check undersides of leaves where eggs are typically laid.
Fungal diseases like botrytis (gray mold) and leaf spot thrive in humid, poorly-ventilated conditions. Prevention is far more effective than treatment: ensure adequate spacing for air circulation, water at soil level rather than overhead, and remove fallen leaves and plant debris promptly. These simple practices eliminate the moist conditions fungal diseases require.
Root rot, caused by various fungi and oomycetes, is perhaps the most serious threat to ember lilies. This disease is nearly impossible to treat once established, making prevention essential. Ensure excellent drainage, avoid overwatering, and plant bulbs at proper depths. If you notice wilting despite adequate moisture, suspect root rot and dig up the plant to inspect the bulb for soft, mushy tissue.
Slugs and snails can damage emerging shoots and foliage. Encourage natural predators like ground beetles by maintaining diverse plantings. Create barriers using copper tape or diatomaceous earth around plants. Remove hiding spots like dense mulch directly against plant bases, keeping a two-inch circle of bare soil around stems.
Viral diseases cause mottling, streaking, or distortion of foliage and flowers. These are incurable and transmitted by aphids. Control aphids with regular monitoring and insecticidal soap if populations build up. Remove and destroy infected plants to prevent virus spread to healthy specimens.
Seasonal Care Calendar
Spring (March-May): As soil warms and growth begins, apply balanced fertilizer when shoots emerge. Water regularly as plants develop foliage and flower buds. Monitor for pests and diseases, removing any damaged foliage. Stake tall varieties if needed for support. Mulch around plants to conserve moisture and suppress weeds.
Summer (June-August): Peak blooming season requires consistent watering and phosphorus-rich fertilization for maximum flower production. Deadhead spent flowers to encourage continued blooming and redirect energy to bulb development. Watch for heat stress in extremely hot climates; provide afternoon shade if necessary. Continue pest monitoring and disease prevention practices.
Fall (September-November): Gradually reduce watering as foliage naturally yellows and dies back. Stop fertilizing by late August to shift plant energy to bulb storage. Allow foliage to remain until completely brown before cutting back, as green leaves continue photosynthesizing and feeding the bulb. This is the ideal time to plant new bulbs. Prepare beds for winter with mulch layer for insulation.
Winter (December-February): Minimal care is needed during dormancy. In cold climates, mulch protects bulbs from extreme temperature fluctuations and frost heave. In mild climates, occasionally water if soil becomes completely dry. Plan next season’s garden layout and order bulbs for spring planting. Check stored bulbs if you’ve lifted them for storage, ensuring they remain cool and dry.
Integrating ember lilies with complementary plants enhances your garden’s visual impact. Pair them with shade-loving perennials like hostas or ferns at their base to hide dying foliage. Consider companion plantings with garden lettuce or herbs in nearby beds for year-round garden interest. The architectural form of ember lilies works beautifully in mixed borders with ornamental grasses and complementary bloomers.
For gardeners interested in expanding their growing capabilities, exploring options like growing blueberries in containers alongside ember lilies creates diverse harvests from limited space. An indoor herb garden also complements outdoor flower cultivation, providing fresh herbs while you admire your blooming lilies. Consider using a quality garden hose with adjustable spray patterns to deliver precise watering your lilies need.
FAQ
How long do ember lilies bloom?
Ember lilies typically bloom for 2-4 weeks during their peak season in mid to late summer. Individual flowers last 3-7 days, but continuous flower production throughout the season extends the overall blooming period. Deadheading spent flowers encourages additional bloom development.
Can I grow ember lilies in containers?
Yes, container growing is possible with proper drainage and care. Use large containers (at least 12 inches deep) filled with well-draining potting soil. Plant one large bulb or three smaller bulbs per container. Containers dry quickly, requiring more frequent watering than in-ground plantings. In cold climates, move containers to protected locations during winter.
When should I divide ember lily bulbs?
Divide bulbs every 3-4 years after foliage dies back in fall. Carefully dig bulbs, separate the small bulblets that have formed around the mother bulb, and replant immediately. Small bulblets may take 2-3 years to reach flowering size.
Why aren’t my ember lilies blooming?
Common causes include insufficient sunlight, poor drainage causing bulb rot, excessive nitrogen fertilization, overcrowding, or bulbs that haven’t matured yet. Ensure plants receive 6-8 hours of direct sun, improve drainage if needed, and adjust your fertilizer to a phosphorus-rich formula.
Are ember lilies deer resistant?
Ember lilies are moderately resistant to deer browsing, but hungry deer may still damage plants in regions with high deer populations. If deer pressure is significant, install fencing or use deer deterrent sprays to protect your lilies.
How do I store lifted ember lily bulbs?
After digging bulbs in fall, clean away soil and allow them to air-dry for one week. Store in a cool (40-50°F), dry location with good air circulation. Use cardboard boxes filled with peat moss or newspaper to prevent bulbs from touching. Check periodically for mold or rot, removing affected bulbs immediately.
What’s the difference between Asiatic and Oriental ember lilies?
Asiatic varieties are typically shorter (2-4 feet), bloom earlier, have less fragrance, and are more cold-hardy. Oriental varieties are taller (4-6 feet), bloom later, produce intense fragrance, and prefer slightly warmer conditions. Both types can be grown as ember lilies with proper care.
Can I propagate ember lilies from seeds?
Yes, but seed propagation is slow and unpredictable. Seeds may take 3-5 years to produce flowering bulbs, and seedlings may not replicate parent plant characteristics. Bulb division or purchasing new bulbs is more practical for most gardeners.


