
How to Build a Garden Wall: DIY Tips for Every Gardener
A garden wall transforms your outdoor space into a structured, visually appealing landscape feature while serving multiple practical purposes. Whether you’re looking to create a vertical garden, define garden boundaries, or add architectural interest to your yard, building a garden wall is an achievable DIY project that delivers lasting results. Garden walls provide support for climbing plants, create microclimates for sensitive specimens, and maximize growing space in compact yards.
From dry stone construction to mortared brick designs, garden walls come in numerous styles and materials suited to different skill levels and budgets. This comprehensive guide walks you through planning, material selection, construction techniques, and plant integration strategies. Whether you’re a seasoned gardener or tackling your first hardscape project, these DIY tips will help you create a sturdy, attractive garden wall that enhances your landscape for years to come.
Planning Your Garden Wall Project
Before breaking ground on your garden wall, invest time in thoughtful planning. Start by determining the wall’s purpose: are you creating a raised bed border, establishing a privacy screen, building terraces on a slope, or constructing a garden structure for climbing plants? Your intended use directly influences design choices, material selection, and construction methods.
Measure the wall location carefully, marking the exact perimeter with spray paint or string. Consider local building codes and setback requirements—many municipalities regulate wall height, particularly for structures exceeding 3-4 feet. Check utility line locations before digging by contacting your local utility locating service (typically a free call to a regional hotline). This critical step prevents dangerous accidents and expensive repairs.
Evaluate your site’s drainage patterns, sunlight exposure, and soil composition. A garden wall positioned on sloping terrain requires different construction techniques than one on level ground. South-facing walls create warmer microclimates ideal for heat-loving plants, while north-facing walls suit shade-tolerant specimens. Document existing drainage to prevent water accumulation that could compromise your wall’s integrity.
Sketch your design including height, length, curves, and any planned openings or features. Consider how the wall integrates with existing landscape elements and whether it will support raised garden beds or planting areas. Professional landscape designers often recommend height-to-length ratios that create visual balance—taller walls typically work best when supported by adequate length to avoid an imposing appearance.
Choosing Materials for Your Garden Wall
Material selection depends on budget, aesthetic preferences, durability requirements, and your skill level. Each option offers distinct advantages and challenges for DIY builders.
Natural Stone provides timeless beauty and exceptional durability. Dry stone construction (stacking without mortar) suits beginners since mistakes are easily corrected, while mortared stone requires more precision. Fieldstone, limestone, and slate each create different visual effects. Stone’s substantial weight demands careful handling and proper foundation work, but the results withstand decades of weather exposure.
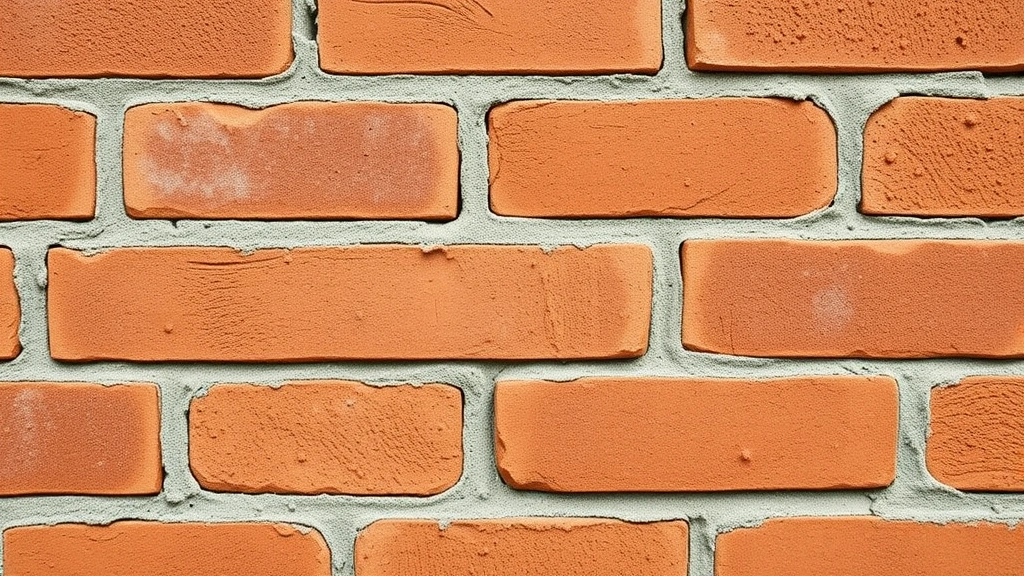
Brick offers clean lines, uniform sizing, and classic appeal. Brick walls require mortar for structural integrity, making them moderately challenging for DIYers. Reclaimed brick adds character and environmental benefits, though it’s more expensive and may require cleaning. Standard brick dimensions (roughly 8x4x2 inches) simplify planning and material calculation.
Concrete Blocks represent the most budget-friendly option and accelerate construction significantly. Their uniform size streamlines alignment and stacking. Decorative concrete blocks add visual interest, while standard gray blocks suit modern aesthetics. Concrete blocks require mortar and often benefit from a finished coating or veneer to enhance appearance.
Composite Materials like recycled plastic lumber and composite blocks combine sustainability with low maintenance. These materials resist rot and pest damage, requiring minimal upkeep compared to wood. They typically cost more upfront but deliver long-term value through durability and reduced maintenance demands.
Wood creates warm, natural aesthetics and suits rustic designs. Pressure-treated lumber resists rot better than untreated wood but requires careful selection to avoid harmful chemicals. Cedar and redwood naturally resist decay but cost significantly more. Wood walls need reinforcement with structural supports and typically last 10-15 years before requiring replacement or major repairs.
Essential Tools and Preparation
Gather necessary tools before starting construction. Basic tools include a shovel, level, measuring tape, string line, and work gloves. For mortared walls, add a trowel, mortar mixing bucket, mixing paddle, grout bag, and pointing tools. Stone or brick cutting requires a cold chisel and small sledgehammer, or ideally, a wet saw for precise cuts.
Safety equipment is non-negotiable: wear heavy-duty gloves, safety glasses, steel-toed boots, and a dust mask when cutting materials. For larger projects, rent a wheelbarrow or small machinery to transport heavy materials. Consider a power mixer if preparing substantial quantities of mortar.
Prepare the site by clearing vegetation, removing topsoil, and leveling the ground as much as possible. Mark the wall perimeter with chalk or paint, ensuring square corners using the 3-4-5 triangle method (measure 3 units along one side, 4 units along the perpendicular side; if the diagonal measures 5 units, corners are perfectly square).
Calculate material quantities carefully. For stone walls, estimate roughly 1 ton per 100 square feet of wall surface. Brick calculations depend on wall thickness—a single-brick-width wall uses approximately 40 bricks per square foot. Mortar needs vary but generally require 1 part cement to 3 parts sand by volume, adjusted based on specific applications and material porosity.
Building Foundation and Base Layers
A solid foundation ensures your garden wall remains level and stable for decades. Proper foundation work prevents settling, tilting, and structural failure that could damage plantings or create safety hazards.
Excavate a trench along your marked wall line, digging 12-18 inches deep depending on wall height and local frost lines. Deeper trenches (24 inches) suit areas with severe freezing conditions where frost heave could damage shallow foundations. The trench width should accommodate your wall thickness plus additional space for working room.
Add 4-6 inches of compacted gravel to the trench bottom, using a tamper to compress material firmly. This drainage layer prevents water accumulation beneath your wall. For mortared walls, add 4 inches of concrete as a base layer, allowing it to cure fully (typically 48-72 hours) before beginning wall construction.
For dry stone walls, skip the concrete and proceed with base stone placement directly on compacted gravel. Select the largest, flattest stones for the base layer, positioning them with broad faces down. This creates a stable foundation that resists shifting and settling. Backfill behind base stones with gravel, compacting thoroughly to eliminate voids.
Check level and plumb regularly as you build the foundation. Minor adjustments at this stage prevent significant problems later. The foundation’s quality directly determines your finished wall’s longevity and appearance.
Constructing the Wall Structure
Dry Stone Construction begins with the base layer already in place. Select stones of varied sizes, arranging larger pieces on the exterior face and smaller stones as infill. Work in courses (horizontal layers), maintaining roughly consistent heights. Each stone should rest on at least two stones below it, creating a stable interlocking pattern. Tilt stones slightly backward toward the wall’s interior, encouraging water drainage away from the face. Check level frequently and adjust by tapping stones with a rubber mallet. Dry walls work best at heights under 3 feet and suit slopes well due to their flexibility.
Mortared Stone Construction requires more precision but creates stronger walls suitable for greater heights. Mix mortar according to package directions, achieving a consistency resembling peanut butter—thick enough to hold its shape but workable. Spread mortar on the concrete base in an even layer approximately 1 inch thick. Place stones, pressing firmly and checking level. Apply mortar to stone joints using a trowel, filling completely. Tool joints slightly concave using a jointing tool, creating water-shedding profiles. Allow mortar to cure for 48 hours before applying significant loads.
Brick Wall Construction follows similar mortared principles with smaller units. Create a running bond pattern (alternating brick positions to avoid continuous vertical joints) for maximum strength. Spread mortar on the base course, set bricks with slight twists to ensure good mortar contact, and fill head joints (end joints between bricks) completely. A 3/8-inch mortar joint is standard. Maintain level and plumb throughout, checking every few courses. Strike joints when mortar reaches thumb-print hardness, creating finished appearances.
Concrete Block Construction uses similar techniques to brick but with larger units. Lay blocks in running bond pattern, ensuring uniform mortar joints. Concrete blocks’ larger size accelerates construction but demands precise alignment since errors magnify across fewer units. Some builders prefer applying mortar only to block webs (outer edges) rather than filling entire cavities, reducing mortar consumption while maintaining adequate strength.
Build walls in stages, allowing mortar to cure between sections. This approach prevents wall failure from excessive weight before mortar gains strength. Never exceed 4 feet of height in a single day—allow 24 hours curing time before adding additional courses.
Integrating Plants into Your Garden Wall
A garden wall’s true beauty emerges when integrated with plantings. Strategic plant selection transforms hardscape into living landscape art while providing practical benefits like erosion control and improved aesthetics.
Consider planting options during wall construction rather than afterward. Create planting pockets by leaving gaps between stones or adding soil pockets behind wall faces. For mortared walls, plan crevice plantings by omitting mortar in selected joints, allowing soil installation later. Dry stone walls naturally accommodate trailing plants in existing crevices.
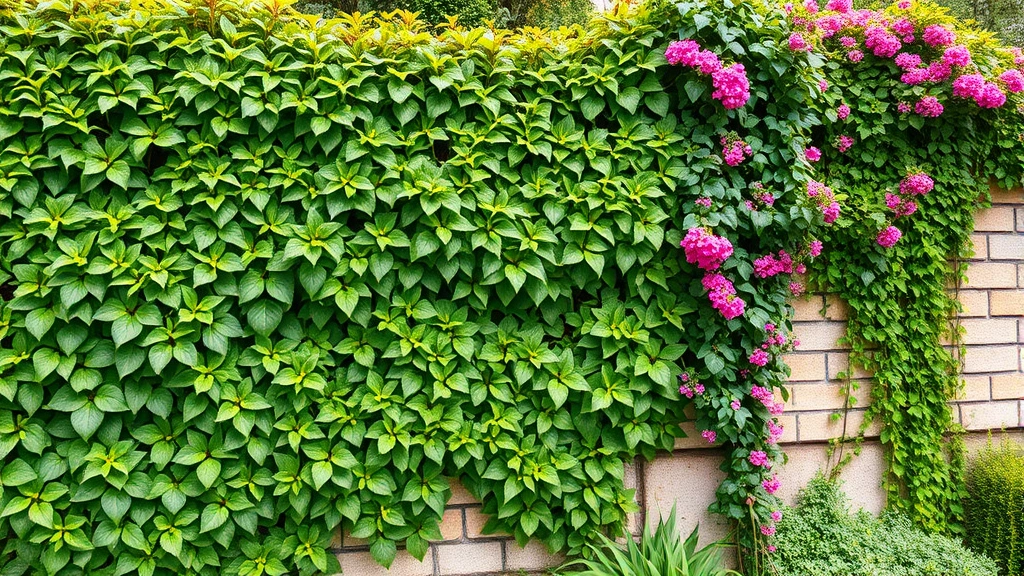
Trailing and Cascading Plants work beautifully on garden walls, softening hard lines while creating dynamic visual interest. Sedums, creeping phlox, and ivy thrive in wall crevices with minimal soil. For climbing plants and trained specimens, consider incorporating a trellis or support system into your wall design. Climbing hydrangeas, clematis, and climbing roses transform plain walls into flowering focal points.
Herb Integration adds practical functionality to decorative walls. Culinary herbs like sage, thyme, and oregano thrive in wall crevices and raised pockets, providing convenient harvesting while creating aromatic, attractive features. These Mediterranean herbs prefer well-draining conditions that wall planting naturally provides.
Vertical Garden Approaches maximize wall planting potential. Vertical gardens utilize wall surfaces efficiently, growing vegetables, flowers, and herbs in tiered arrangements. Install planting pockets, shelves, or trellis systems to create growing spaces. This approach suits north-facing walls and shaded areas where traditional ground-level gardening challenges exist.
Soil quality dramatically impacts wall plantings’ success. Use well-draining potting mix amended with compost for crevice plantings. For larger pockets or raised beds supported by walls, incorporate quality topsoil, compost, and perlite to ensure adequate drainage while maintaining moisture retention.
Irrigation planning becomes critical for wall plantings, especially in upper sections where rainfall doesn’t penetrate effectively. Drip irrigation systems or soaker hoses deliver water efficiently to wall-mounted plants. Consider installing irrigation during wall construction rather than retrofitting afterward.
Maintenance and Seasonal Care
Proper maintenance extends your garden wall’s lifespan significantly, preserving both structural integrity and aesthetic appeal across seasons.
Spring Maintenance involves inspecting for winter damage, repairing displaced stones or loose mortar, and clearing debris accumulated in planting pockets. Check that irrigation systems function properly before the growing season begins. Remove any dead plant material and refresh soil in planting areas.
Summer Care focuses on plant health and watering consistency. Monitor wall plantings for drought stress, particularly in upper sections and south-facing walls. Deadhead spent flowers to encourage continued blooming. Watch for pest issues and address problems promptly before infestations spread.
Fall Preparation includes cutting back perennials, removing annual plantings, and applying organic mulch to protect roots through winter. Inspect mortar joints for cracks or deterioration, scheduling repairs before freeze-thaw cycles cause expansion damage. Clean gutters and drainage areas to prevent water accumulation behind walls.
Winter Considerations vary by climate but generally involve monitoring for frost heave, particularly in areas experiencing freeze-thaw cycling. In regions with snow, avoid piling snow directly against walls, which can cause damage and ice dam formation. Protect tender plantings with frost cloth or burlap wrapping in areas experiencing severe freezes.
Mortar and Stone Repair maintains wall integrity long-term. Repoint deteriorating mortar by carefully removing damaged material and applying fresh mortar to joints. This process, while labor-intensive, prevents small problems from becoming major structural issues. Address displaced stones immediately to prevent cascading failures.
Drainage Management protects walls from water damage. Ensure surface water drains away from wall bases, preventing saturation that accelerates deterioration. For walls supporting raised beds or plantings, install perforated drain pipes at wall bases to redirect subsurface water, preventing hydrostatic pressure buildup.
FAQ
What’s the ideal height for a DIY garden wall?
For most DIY builders, 2-4 feet represents an ideal height offering visual impact without excessive structural demands. Walls under 3 feet typically don’t require building permits, and mortared walls at this height remain manageable for inexperienced builders. Always verify local codes before construction begins.
How much does building a garden wall cost?
Costs vary dramatically based on materials and scale. Dry stone walls cost $15-30 per linear foot, mortared stone runs $25-50 per linear foot, brick walls range $20-40 per linear foot, and concrete block walls cost $10-25 per linear foot. Labor costs for professional installation typically double material expenses.
Can I build a garden wall without mortar?
Absolutely. Dry stone construction requires no mortar and suits beginners well. This method works excellently for walls under 3 feet on relatively level terrain. Dry walls’ flexibility accommodates minor settling and ground movement better than rigid mortared structures.
What plants grow best in garden wall crevices?
Sedums, sempervivums, creeping phlox, thyme, ivy, and small ferns thrive in wall crevices. These drought-tolerant plants prefer well-draining conditions and minimal soil. Avoid vigorous growers that could dislodge stones or damage mortar.
How do I prevent water damage to my garden wall?
Ensure proper drainage by installing gravel bases, creating slightly backward-tilting wall faces, and maintaining surface drainage away from wall bases. For mortared walls, use quality mortar and maintain joints to prevent water infiltration. Address repairs promptly before small problems escalate.
Should I hire professionals or build my garden wall myself?
DIY construction suits shorter, simpler walls with forgiving materials like dry stone or concrete block. Complex designs, tall walls, or mortared stone walls benefit from professional expertise. Consider your skill level, available time, and project complexity before deciding.
What permits do I need for garden wall construction?
Permit requirements vary by municipality but typically apply to walls exceeding 3-4 feet in height or located near property lines. Contact your local building department before beginning construction. Obtaining permits, while sometimes seeming burdensome, protects your investment and ensures compliance with safety standards.
How long does a garden wall last?
Properly constructed stone and brick walls last 50-100+ years with minimal maintenance. Concrete block walls typically last 30-50 years. Wood walls last 10-20 years depending on material selection and climate. Dry stone walls prove exceptionally durable, with examples surviving centuries.


