Build a Bicycle Garden Shed? DIY Expert Tips
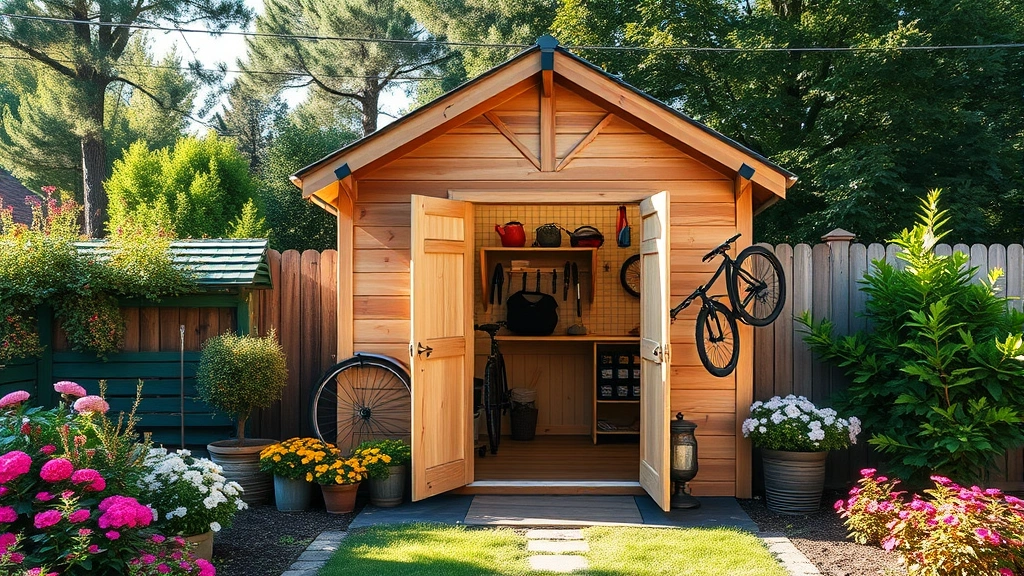
A bicycle garden shed represents the perfect marriage of practical storage and outdoor aesthetics. Whether you’re an avid cyclist or a dedicated gardener, combining these two spaces creates an efficient, weather-protected environment that maximizes your property’s utility. This comprehensive guide walks you through every step of building your own bicycle garden shed, from initial planning through final touches.
Creating a dedicated space for both bicycles and gardening tools eliminates clutter from your garage, protects expensive equipment from the elements, and establishes an organized hub for outdoor activities. With proper planning and the right approach, even novice DIYers can construct a functional, attractive shed that serves these dual purposes effectively.
Planning Your Bicycle Garden Shed Design
The foundation of any successful DIY project begins with detailed planning. Before purchasing a single board, determine your shed’s primary purpose. Will bicycles dominate the space, or will you dedicate equal areas to gardening supplies? Understanding this balance influences every design decision.
Standard bicycle garden sheds range from 8×8 feet to 12×16 feet, providing adequate space for 4-6 bicycles, shelving for tools, and storage for seasonal items. Sketch your layout on graph paper, accounting for bike rack placement, workbench space, and shelving units. Consider traffic flow—you want easy access to frequently used items without navigating around obstacles.
Height matters considerably. A minimum 7-foot interior ceiling accommodates most people comfortably and allows for overhead storage. The shed’s exterior dimensions should comply with local zoning regulations, which typically restrict structures to specific setback distances from property lines. Contact your local building department before construction begins.
Think about future expansion too. Designing with modular components allows you to add sections or upgrade features later. This flexibility proves valuable as your gardening endeavors evolve or your bicycle collection grows.
Selecting the Right Location and Foundation
Location determines your shed’s longevity and functionality. Choose a spot with proper drainage, ideally on level ground away from large trees that drop excessive debris. Morning sun exposure helps prevent moisture accumulation, while afternoon shade reduces interior temperature extremes.
Check utility lines before digging. Call your local utility locating service to mark underground pipes and cables. Position the shed where it won’t obstruct views, overshadow gardens, or create neighborly disputes about aesthetics.
Foundation options include concrete slabs, gravel beds, and pressure-treated skids. A concrete slab provides the most durable, moisture-resistant base—essential for protecting bicycles and tools from ground dampness. Dig 4-6 inches deep, add a 4-inch gravel base for drainage, then pour 4 inches of concrete. Allow 7 days for proper curing before building.
For budget-conscious builders, pressure-treated 4×6 skids leveled on concrete blocks create adequate foundations. Ensure the base is perfectly level using a long straightedge and spirit level. Uneven foundations cause frame misalignment, making doors and windows difficult to operate.
Materials and Tools You’ll Need
A typical 10×12 bicycle garden shed requires substantial materials. You’ll need pressure-treated lumber for the foundation, 2x4s and 2x6s for framing, plywood sheathing, roofing materials, and siding. Quality matters—pressure-treated wood resists rot, while treated framing lumber maintains structural integrity over decades.
Essential tools include a circular saw, power drill, level, tape measure, framing square, and nail gun. Many hardware stores rent expensive equipment like scaffolding or specialized saws. Renting saves money while ensuring you have proper tools for the job.
Roofing materials vary: asphalt shingles offer affordability and durability, metal roofing provides superior longevity, and corrugated panels offer lightweight simplicity. For siding, consider cedar for aesthetics, vinyl for low maintenance, or metal panels for durability. Budget 20-30% extra for waste and unforeseen needs.
Don’t overlook hardware: hinges, door latches, window hardware, fasteners, and flashing. Quality hardware prevents operational issues and extends shed lifespan. Stainless steel hardware resists rust better than galvanized alternatives.
Building the Frame and Walls
Start by constructing the base frame using pressure-treated 2×6 lumber. Secure corner posts with bolts, creating a rectangle perfectly square at all corners. Use diagonal bracing to verify squareness before proceeding.
Frame walls using 2×4 studs spaced 16 inches apart. This standard spacing accommodates standard plywood panels and provides adequate strength. Install wall studs vertically, with horizontal top and bottom plates. Add extra studs around door and window openings, plus diagonal bracing for wind resistance.
For the bicycle garden shed to function properly, plan wall openings strategically. A standard exterior door (36 inches wide, 80 inches tall) provides bike access. Windows promote interior visibility and natural light—essential for flower garden ideas you might display inside and for monitoring stored items.
Sheath walls with 1/2-inch plywood, working from bottom to top. Stagger seams across multiple rows for structural strength. Secure plywood with 8-penny nails or screws every 6-8 inches around edges and 12 inches along intermediate studs. This sheathing provides crucial structural bracing before siding installation.
Install house wrap or moisture barriers over sheathing before siding. This breathable layer prevents water infiltration while allowing interior moisture to escape—critical for protecting constructing a raised garden supplies stored inside.
Roofing and Weatherproofing
Roof construction begins with rafters—angled beams that create the roof’s slope. A 4:12 pitch (4 inches of rise per 12 inches of horizontal run) sheds water effectively while remaining manageable for DIY builders. Steeper pitches shed snow better but increase construction complexity and material costs.
Install roof sheathing using 1/2-inch plywood, then add roofing felt or synthetic underlayment. This moisture barrier prevents leaks even if shingles deteriorate. Asphalt shingles, applied from bottom to top with staggered seams, provide reliable weatherproofing for 15-20 years.
Flashing—metal strips that direct water away from vulnerable areas—proves essential around roof penetrations, wall junctions, and door frames. Improper flashing causes interior water damage that destroys tools and bicycles. Install flashing before siding, ensuring it overlaps properly to channel water downward.
Gutters and downspouts direct rainwater away from the foundation, preventing puddles and moisture infiltration. Even simple gutters significantly extend shed lifespan by protecting walls and foundation from constant water exposure.
Weatherstripping around doors and windows seals gaps that allow drafts, insects, and moisture entry. Quality weatherstripping costs little but dramatically improves performance. Replace it every 3-5 years as it degrades from sun exposure.
Interior Organization Systems
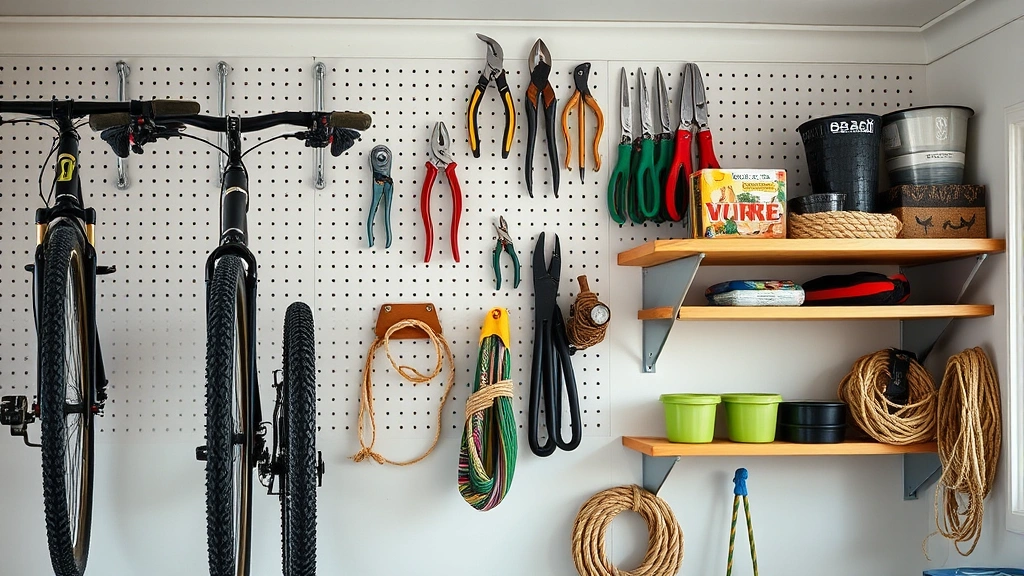
Smart interior organization transforms a bicycle garden shed from storage space into functional workspace. Vertical storage dominates small spaces—wall-mounted bike racks, pegboards for tools, and floating shelves maximize capacity without consuming floor area.
Dedicated bicycle storage prevents damage and protects other items. Wall-mounted hooks, freestanding racks, or pulley systems that hoist bikes overhead all work effectively. Ensure bikes rest securely without pressure on tires or components. Separate children’s bikes from adult bikes to prevent tangling and damage.
Tool organization requires accessible shelving and logical arrangement. Frequently used items—pruners, shears, spades—deserve eye-level placement. Seasonal equipment (snow shovels, leaf rakes) can occupy higher shelves. Heavy tools like garden fertilizer bags and mulch containers need sturdy, low shelving.
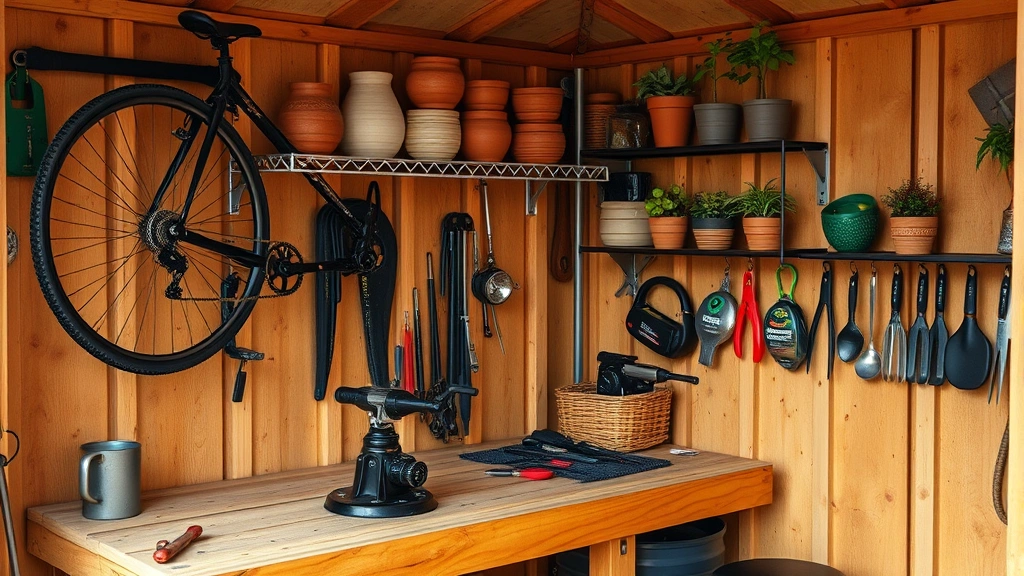
Install a workbench for bike repairs and tool maintenance. A 4-foot workbench with a vise provides adequate space for most tasks. Mount it along a wall to preserve floor space. Include pegboard above the workbench for tool organization—hammers, wrenches, screwdrivers stay visible and accessible.
Consider dedicated zones: a bicycle repair area, gardening supply section, and seasonal storage zone. Clear labeling helps household members locate items quickly. Transparent storage containers for small items like coffee grounds in garden projects, seeds, and fasteners improve visibility and organization.
Power access enables tool charging and winter project work. Run electrical wiring through walls during construction, installing outlets at convenient heights. A weatherproof outlet near the workbench supports power tools and bicycle battery chargers.
Ventilation and Climate Control
Proper ventilation prevents moisture accumulation that damages bicycles and tools. Install soffit vents under roof overhangs and roof vents at the peak—this creates convective airflow that removes humidity. For larger sheds, powered exhaust fans provide active ventilation.
Windows promote natural ventilation while providing natural light. Operable windows (those that open) allow breezes to circulate, reducing humidity and temperature extremes. Consider window placement to capture prevailing breezes.
In humid climates or during wet seasons, a dehumidifier prevents rust and corrosion. Battery-powered dehumidifiers require no electrical installation and work effectively in smaller spaces. Larger sheds benefit from hardwired dehumidifiers with automatic drainage.
Insulation isn’t always necessary, but it helps regulate temperature extremes. If you plan winter bike maintenance or want to protect sensitive items, install fiberglass batts between wall studs and ceiling joists. Vapor barriers on the warm side prevent condensation.
Moisture-absorbing materials like silica gel or activated charcoal help control humidity in confined spaces. Replace these materials regularly as they become saturated. Some gardeners swear by Asian garden principles of natural moisture balance, incorporating plants that absorb excess humidity.
Finishing Touches and Maintenance
Exterior finishes protect wood from weathering while enhancing curb appeal. Stain or paint siding every 3-5 years, depending on climate conditions. Quality exterior paints and stains penetrate wood, providing superior protection compared to budget options. Colors should complement your home and landscape—earth tones typically blend well with gardens.
Interior finishing depends on your priorities. Unfinished plywood works fine for storage sheds, but painted walls improve visibility and reflect light better. Light colors brighten interiors without artificial lighting. Epoxy floor coatings protect concrete slabs from staining and improve durability.
Landscaping around the shed completes the installation. Plants soften hard lines and integrate the structure into your yard. Avoid dense vegetation that traps moisture or blocks ventilation. Fairy ideas for the garden could include whimsical plantings that frame your shed entrance.
Regular maintenance extends shed lifespan considerably. Inspect roofing annually for damaged shingles, check flashing for rust or separation, and verify that gutters drain properly. Clean gutters twice yearly to prevent water backup. Treat wood siding with preservative every few years to prevent rot.
Interior maintenance includes organizing seasonal items, cleaning tools before storage, and checking for pest activity. Rodents appreciate sheds as winter homes—seal gaps larger than 1/4 inch and store food items (seeds, fertilizer) in sealed containers. Traps and deterrents keep populations manageable.
FAQ
Do I need a building permit for a bicycle garden shed?
Most jurisdictions require permits for structures exceeding 120 square feet or those with electrical installations. Check local regulations before construction. Permits ensure your shed meets safety codes and doesn’t violate zoning restrictions. Unpermitted structures can complicate property sales or insurance claims.
How much does it cost to build a bicycle garden shed?
A basic 10×12 shed costs $2,000-$4,000 in materials, depending on siding, roofing, and finishing choices. Premium materials, electrical installation, and custom features increase costs to $5,000-$8,000. Pre-made shed kits range from $1,500-$6,000 but offer less customization.
Can I build a shed without a concrete foundation?
Yes, gravel beds or pressure-treated skids work adequately for budget-conscious builders. However, concrete slabs provide superior longevity and moisture protection. The extra investment pays dividends through decades of reliable protection.
What’s the best ventilation strategy for humid climates?
Combine soffit and roof vents for passive ventilation, add operable windows for cross-breezes, and consider powered exhaust fans for active moisture removal. Dehumidifiers supplement these systems during wet seasons.
How do I protect bicycles from rust in a shed?
Ensure proper ventilation to minimize humidity, use dehumidifiers during wet seasons, and apply protective coatings to bike components. Store bikes away from direct water sources and inspect them monthly for corrosion signs.
Can I add electricity to my bicycle garden shed?
Yes, hire a licensed electrician to run weatherproof conduit from your home’s main panel. Install GFCI outlets near water sources and ensure all wiring meets local electrical codes. This enables tool charging, lighting, and equipment operation.


