How to Grow Elder Beans in Your Garden: Expert Gardener Advice
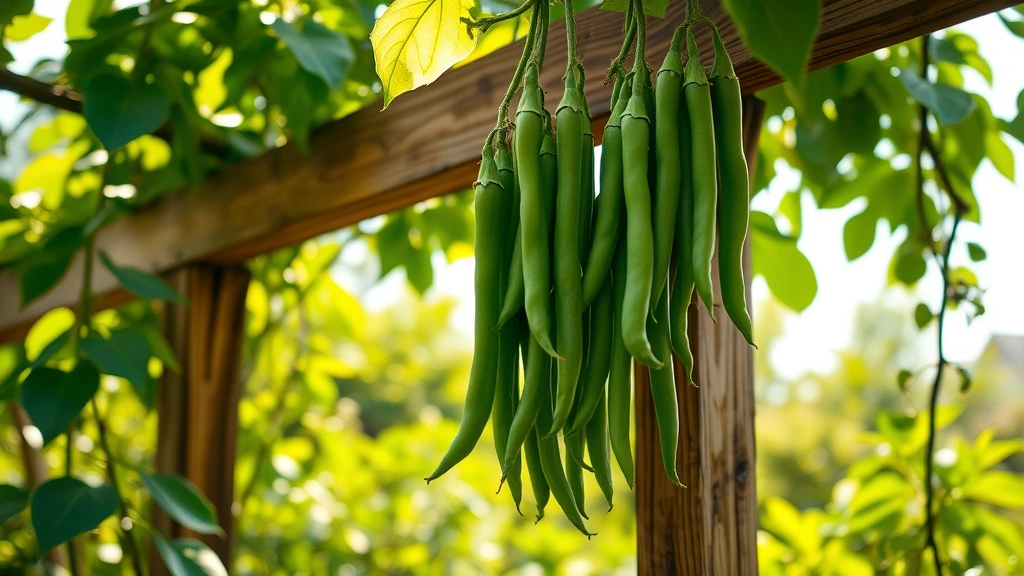
Elder beans, also known as yard-long beans or asparagus beans, are a fascinating and productive addition to any vegetable garden. These legumes produce elongated pods that can reach 12-18 inches in length, offering a unique texture and mild flavor that sets them apart from traditional green beans. Whether you’re an experienced gardener or just starting your gardening journey, growing elder beans provides both practical harvests and educational value about diverse crop varieties.
Native to Asia, elder beans thrive in warm-season gardens and reward gardeners with abundant yields throughout the growing season. Their vigorous climbing vines make them ideal candidates for vertical garden designs, maximizing limited space while creating visual interest. Unlike many vegetable crops, elder beans require minimal maintenance once established, making them perfect for busy gardeners seeking reliable productivity without constant intervention.
This comprehensive guide draws from horticultural expertise and practical growing experience to help you successfully cultivate elder beans from seed to harvest. We’ll explore everything from soil preparation to pest management, ensuring you have the knowledge needed to grow robust plants that produce consistently throughout the season.
Climate and Growing Season Requirements
Elder beans are warm-season crops that demand consistent heat to germinate, grow, and produce abundantly. These plants perform best in USDA hardiness zones 3-11, though they thrive most vigorously in zones 5-10 where temperatures remain above 60°F consistently. Soil temperatures must reach at least 65°F before planting seeds directly in the garden, and ideally should be 70-75°F for optimal germination rates.
The growing season for elder beans spans 60-70 days from planting to first harvest, with peak production occurring during the hottest months of summer. This makes them an excellent choice for extending your vegetable garden layout into mid-summer through early fall. In cooler climates, starting seeds indoors 3-4 weeks before the last frost date allows you to transplant seedlings once soil warms adequately.
Unlike some bean varieties that tolerate partial shade, elder beans require full sun exposure—at least 6-8 hours daily—to produce substantial yields. Southern and western-facing garden locations work particularly well, capturing maximum solar radiation throughout the growing season. In extremely hot climates (zones 10-11), afternoon shade can prevent flower drop during peak heat waves, maintaining consistent pod production.
Soil Preparation and Fertility
Preparing your planting bed properly establishes the foundation for healthy elder bean growth and prolific harvests. These legumes prefer well-draining soil with a pH between 6.0-7.0, though they tolerate slightly acidic to neutral conditions. Begin soil preparation 2-3 weeks before planting by incorporating 2-3 inches of well-composted organic matter into the top 8-10 inches of soil.
Elder beans form beneficial relationships with nitrogen-fixing bacteria in the soil, reducing their nitrogen requirements compared to non-legume vegetables. However, establishing rich organic matter content supports these bacterial colonies while improving soil structure and water retention. Avoid excessive nitrogen fertilization, which promotes vegetative growth at the expense of flowering and pod production. A balanced approach using compost, aged manure, or organic matter amendments provides sufficient nutrients without encouraging lush foliage.
For container growing or areas with poor native soil, prepare a quality potting mix combining equal parts compost, peat moss or coconut coir, and perlite. This mixture drains well while retaining adequate moisture and nutrients for container-bound plants. Containers should be at least 10-12 inches deep and wide enough to accommodate the root system, typically 12-18 inches in diameter for optimal growth.
Conduct a soil test through your local extension service to determine existing nutrient levels and pH. This investment provides valuable information for customizing amendments to your specific garden conditions, ensuring elder beans receive exactly what they need without excess inputs.
Planting Elder Beans Successfully
Direct seeding elder beans into warm soil produces superior results compared to transplanting, as these legumes develop deep taproots that transplant poorly. Wait until soil temperatures consistently reach 65-70°F before sowing seeds directly. Plant seeds 1 inch deep and 3-4 inches apart in rows spaced 18-24 inches apart, or in clusters around support structures if using vertical growing methods.
Germination typically occurs within 7-10 days under ideal conditions, with seedlings emerging quickly once soil warms adequately. Thin seedlings to 6-8 inches apart once they develop their first true leaves, allowing adequate space for vigorous growth and air circulation. Crowded plants suffer from increased disease pressure and reduced productivity, so proper spacing is essential.
If starting seeds indoors, use peat pots or soil blocks to minimize transplant shock when moving seedlings to the garden. Harden off indoor-started seedlings by gradually exposing them to outdoor conditions over 7-10 days before transplanting. This acclimatization process strengthens plants and reduces transplant mortality. Plant seedlings at the same depth they grew in containers, burying the stem slightly deeper if plants are leggy.
Succession planting every 2-3 weeks until mid-summer ensures continuous harvests through fall. Each planting matures approximately 60-70 days after sowing, staggering your production and maintaining steady supplies of tender young pods throughout the season. This approach works particularly well in regions with long growing seasons extending into September or October.
Support Structures and Training
Elder beans are vigorous climbers that naturally grow 4-6 feet tall, sometimes exceeding 8 feet in optimal conditions. Providing sturdy support structures is essential for healthy growth, ease of harvesting, and disease prevention. Trellises, stakes, poles, or string systems all work effectively; choose based on your garden space and aesthetic preferences.
Pole structures should be installed at planting time or shortly thereafter, preventing damage to young plants as they develop. Bamboo poles, wooden stakes, or metal rods work well for traditional staking methods. For larger plantings, A-frame trellises or cattle panel structures provide excellent support while creating visually appealing garden features. These structures also integrate beautifully into cottage garden designs, adding vertical dimension and productivity.
String or twine systems offer flexibility and ease of installation, particularly for gardeners with space constraints. Run sturdy twine or natural fiber cordage between horizontal support lines, creating a vertical climbing surface. As plants grow, gently guide tendrils toward the string, encouraging upward growth and making future harvesting more convenient.
Unlike some climbing beans, elder beans rarely require training or tying to supports. Their natural tendrils grip structures efficiently, supporting the plant weight as it matures. However, periodically guiding wayward vines toward support structures during early growth stages encourages more uniform development and easier access to pods during harvesting.
Watering and General Care
Consistent moisture is crucial for elder bean success, particularly during flowering and pod development stages. These plants require approximately 1-1.5 inches of water weekly, delivered through drip irrigation or soaker hoses for maximum efficiency. Water deeply to encourage deep root development, reducing plant stress during hot, dry periods.
Morning watering minimizes disease pressure by allowing foliage to dry quickly after irrigation. Avoid overhead watering that wets leaves, as wet foliage creates conditions favorable for fungal diseases. Consistent soil moisture prevents flower and pod drop, a common problem when plants experience alternating wet and dry cycles.
Mulching around plants with 2-3 inches of organic material—such as straw, grass clippings, or shredded leaves—conserves soil moisture, regulates temperature, and suppresses weeds. Maintain mulch several inches away from plant stems to prevent moisture-related stem diseases. As mulch decomposes, it enriches soil with organic matter, improving structure and fertility over time.
Fertilization requirements are minimal for elder beans grown in properly prepared soil. If plants appear pale or growth slows significantly during the season, apply a balanced liquid fertilizer diluted to half-strength every 3-4 weeks. Excessive nitrogen promotes vegetative growth at the expense of pod production, so resist the urge to over-fertilize even if plants look less vigorous than expected.
Managing Pests and Diseases
Elder beans generally demonstrate good resistance to common legume pests and diseases when grown in optimal conditions with proper spacing and air circulation. However, several challenges may arise requiring attention and intervention.
Common Pests: Spider mites, aphids, and bean beetles occasionally infest elder beans, particularly during hot, dry periods. Regular monitoring catches infestations early when populations remain manageable. Spray affected plants with strong water streams to dislodge pests, or apply neem oil according to label directions for persistent infestations. Encouraging beneficial insects like ladybugs and parasitic wasps through diverse plantings naturally controls pest populations.
Fungal Diseases: Powdery mildew appears as white coating on leaves during humid conditions. Improve air circulation by pruning lower foliage and spacing plants adequately. Sulfur dust or fungicidal sprays address severe infections. Rust and other fungal leaf spots typically result from overhead watering or poor air movement; correcting these cultural practices prevents recurrence.
Bacterial Diseases: Bacterial blight occasionally affects beans, causing small lesions on pods and leaves. No chemical treatments exist for bacterial diseases; management focuses on prevention through sanitation, adequate spacing, and avoiding working in wet foliage. Remove affected plants entirely if infection becomes severe, preventing spread to neighboring plants.
Practicing crop rotation by planting beans in different garden locations each season significantly reduces disease buildup in soil. Avoid planting legumes in the same spot more frequently than every three years, breaking disease cycles and maintaining soil health.
Harvesting and Storage
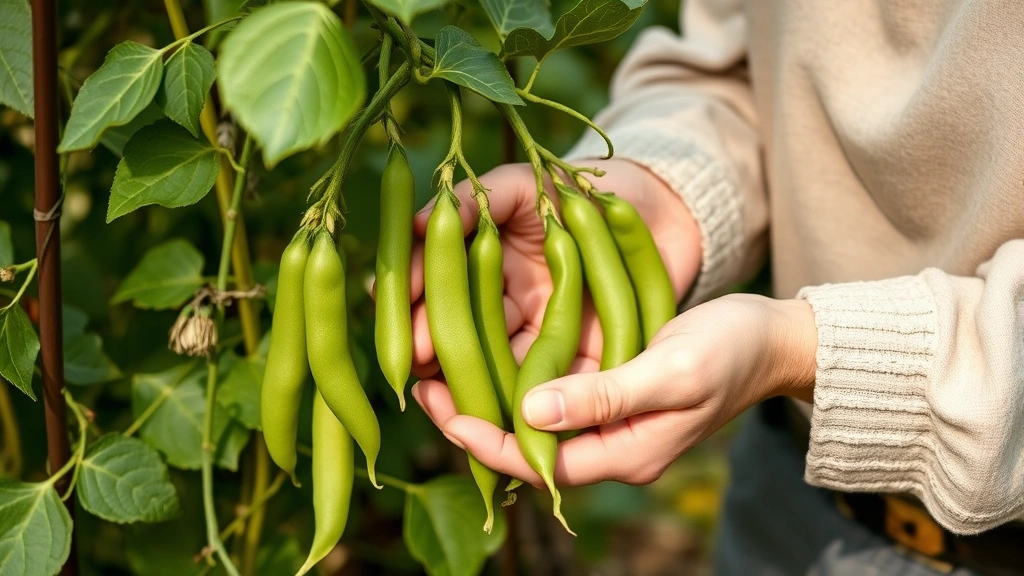
Elder beans are ready to harvest approximately 60-70 days after planting, when pods reach 6-10 inches in length. Harvest pods while still tender and before seeds begin enlarging inside, typically when pods snap cleanly when bent. Regular harvesting encourages continued flowering and pod production throughout the season; plants left unpicked divert energy to seed maturation rather than new flower development.
Morning harvesting when pods are turgid with moisture ensures maximum crispness and quality. Use two hands when picking—one supporting the plant stem and one gently removing the pod—preventing damage to vines and future flower buds. Harvesting becomes easier and more productive when plants are well-supported and pruned for accessibility.
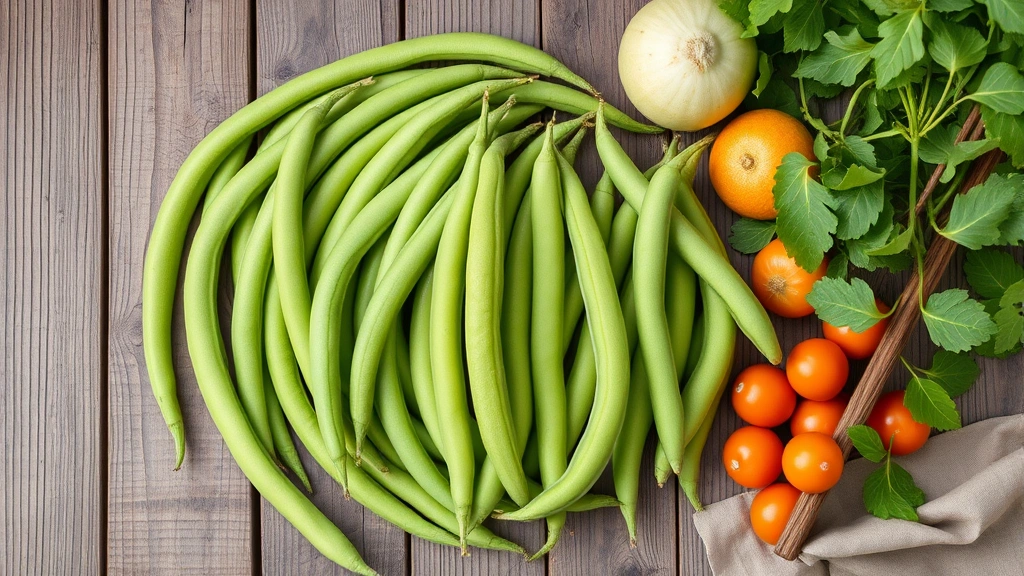
Fresh elder beans store in refrigerator crisper drawers for 3-5 days wrapped in damp paper towels. For longer storage, blanch pods in boiling water for 2-3 minutes, cool in ice water, drain thoroughly, and freeze in airtight containers for up to 8 months. Blanching preserves color, texture, and nutritional quality during frozen storage, maintaining eating quality through winter months.
Allow some pods to mature fully on the plant if you wish to save seeds for next season. Mature pods turn brown and dry on the vine; harvest these pods and store them in a cool, dry location until seeds can be easily removed. Store dried seeds in sealed containers in cool conditions for up to 2-3 years, maintaining viability for future plantings.
FAQ
What’s the difference between elder beans and other bean varieties?
Elder beans (yard-long beans) produce extremely long, slender pods reaching 12-18 inches compared to traditional green beans at 4-6 inches. They require warm temperatures year-round and climbing support, whereas some bean types grow as compact bushes. The flavor is milder and texture slightly more tender than conventional green beans.
Can I grow elder beans in containers?
Yes, elder beans grow excellently in containers at least 12-18 inches in diameter and 10-12 inches deep. Use quality potting mix and provide sturdy vertical support for vines to climb. Container-grown plants require more frequent watering than in-ground plants, particularly during hot weather, but produce abundantly when given adequate care.
How do I know when elder beans are ready to harvest?
Harvest pods when they reach 6-10 inches long and snap cleanly when bent. Pods should feel tender with no visible bulges from developing seeds inside. Regular harvesting every 2-3 days encourages continued flowering and extends your production season through fall.
Why are my elder bean plants flowering but not producing pods?
Excessive nitrogen fertilization promotes leafy growth at the expense of flowering. Heat stress during extreme temperatures can cause flower and bud drop. Inconsistent watering, particularly alternating wet and dry cycles, also reduces pod set. Ensure consistent moisture, avoid over-fertilizing, and provide afternoon shade in extremely hot climates.
Are elder beans difficult to grow for beginners?
Elder beans are relatively easy to grow once you understand their basic requirements: warm soil, full sun, consistent moisture, and sturdy support structures. They’re excellent choices for beginner gardeners seeking productive crops with minimal pest problems and disease resistance when grown in proper conditions.
Can I succession plant elder beans throughout the season?
Absolutely. Plant seeds every 2-3 weeks until mid-summer to ensure continuous harvests through fall. Each successive planting matures 60-70 days after sowing, staggering production and maintaining steady supplies of tender pods throughout the growing season.
What companion plants grow well with elder beans?
Elder beans pair excellently with squash, corn, and cucumbers in traditional garden combinations. Aromatic herbs like basil, cilantro, and oregano nearby enhance pest management through beneficial insect attraction. Marigolds and nasturtiums deter certain pests while adding color to vegetable gardens.
Do elder beans fix nitrogen in soil like other legumes?
Yes, elder beans form symbiotic relationships with nitrogen-fixing bacteria, enriching soil with nitrogen. This benefit makes them valuable in crop rotation schemes, improving soil fertility for subsequent plantings. However, this doesn’t eliminate the need for initial soil preparation with organic matter and compost.
How do I save seeds from elder beans?
Allow some mature pods to remain on plants until they turn brown and dry on the vine. Harvest dried pods, extract seeds, and store them in sealed containers in cool, dry conditions. Properly stored seeds remain viable for 2-3 years, providing free planting material for future seasons while maintaining genetic diversity in your garden.


